Installation
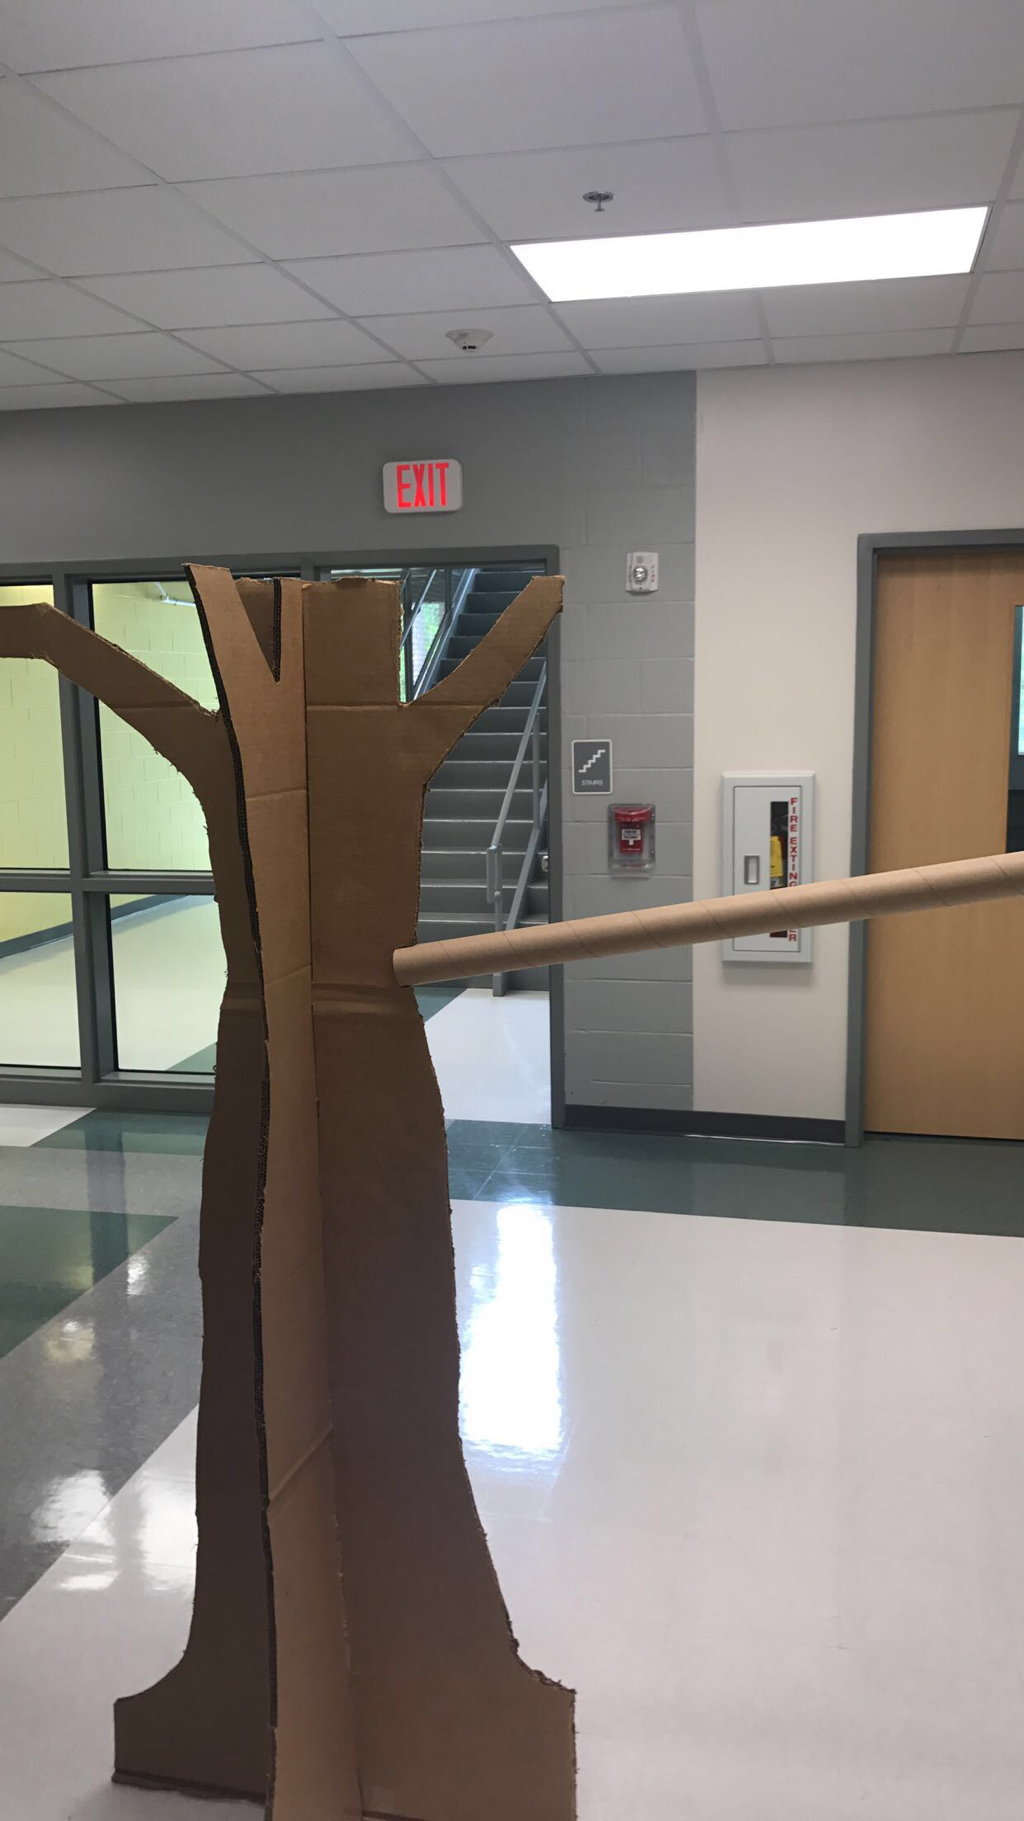
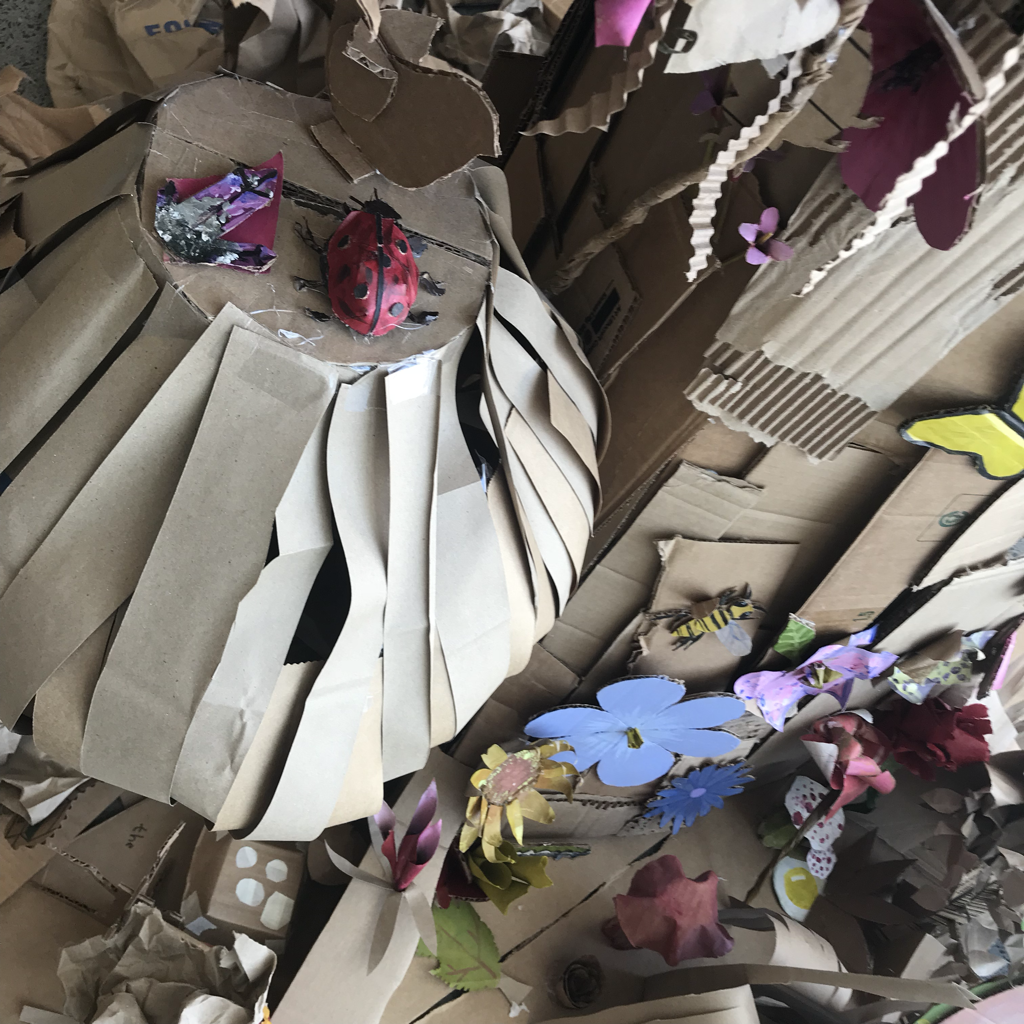
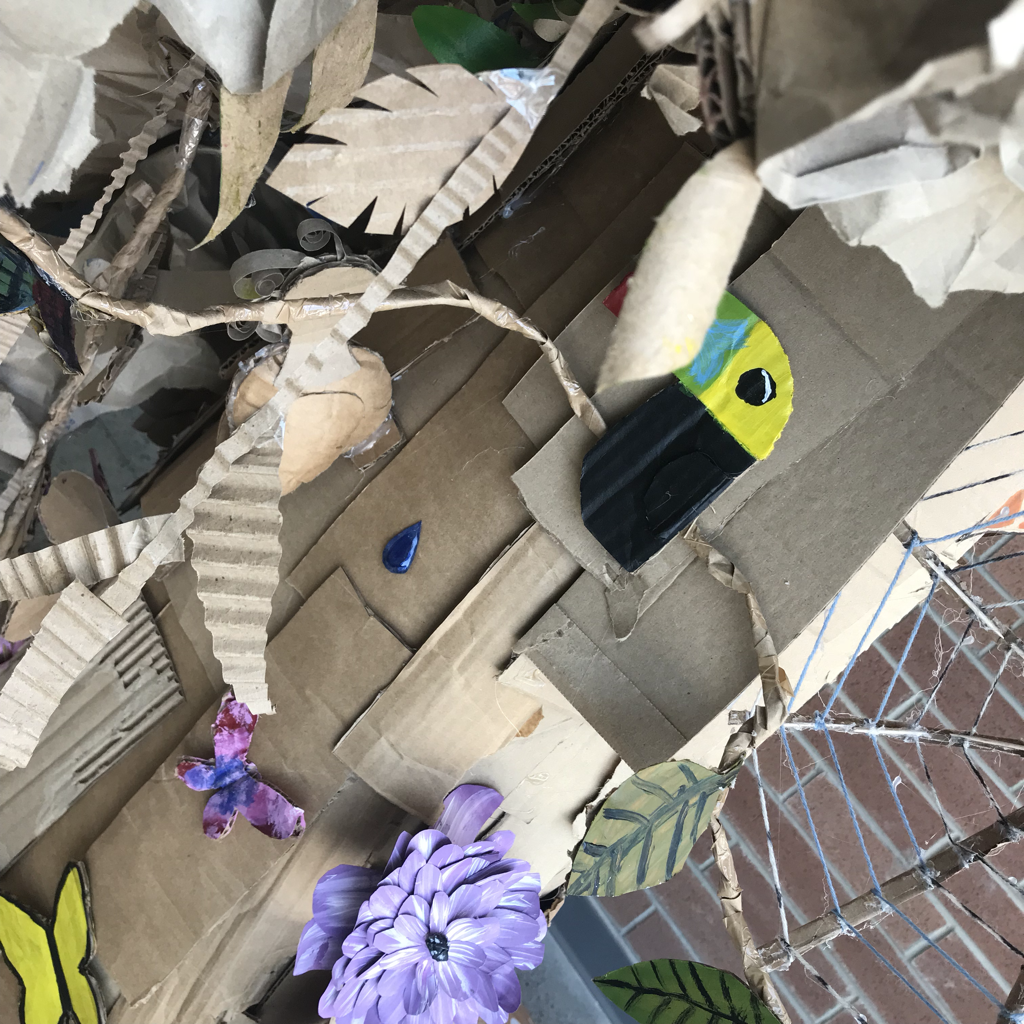
The project is coming together a little bit better then i thought it would😬. My group kinda hit a bump when trying to come up with an idea for the base, but we finally came up with a good idea to support everyone’s art work. The base was made of two big cardboard boxes with slots so they could fit into each other and stand up by themselves.
Installation: is a three-dimensional piece of art made to transform a space
I think the finished piece was pretty considering that everyone was putting their own art on it all together. If it was my personal piece I would change the size of the top of the tree to making it a bit bigger. In my group we all together made the base of the tree and also the roots.
I think the finished piece was pretty considering that everyone was putting their own art on it all together. If it was my personal piece I would change the size of the top of the tree to making it a bit bigger. In my group we all together made the base of the tree and also the roots.
Stryogami

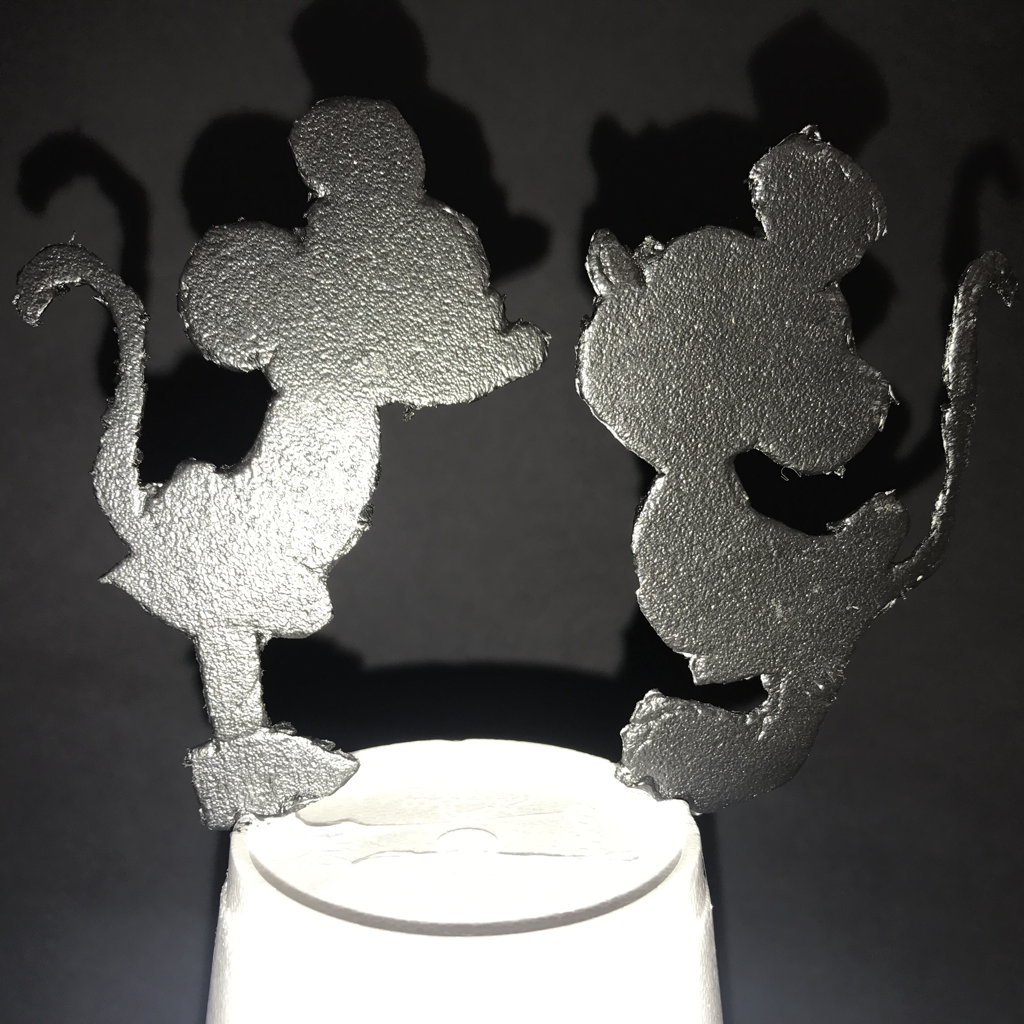
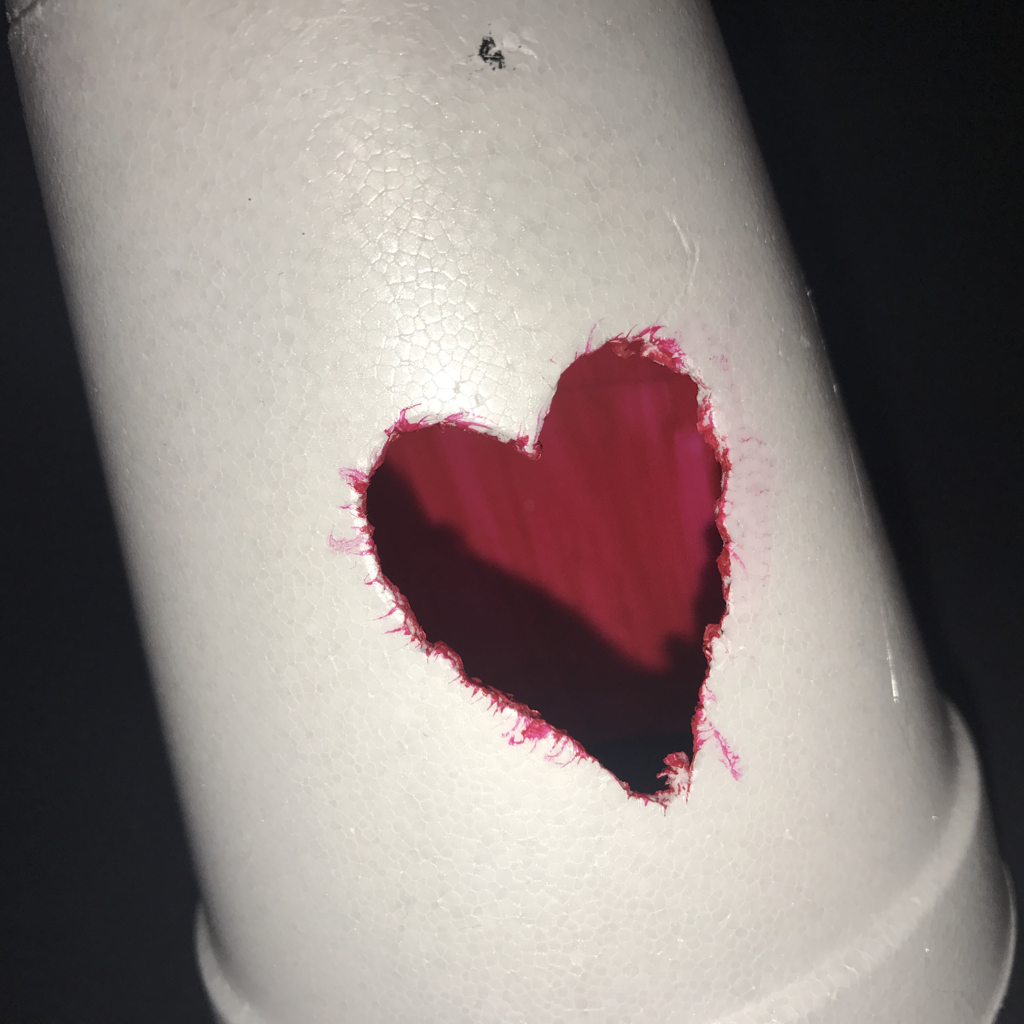
What was difficult about this was the point of coming up with an idea for my piece at all. It hit me when my boyfriend sent me a text and I was like of course they two most famous in love cartoon characters. Once I had my idea it was easy to go ahead and carve out minnie and mickey. I decided to have them on the top and showcase the love as a heart cut out of the cup and painted the inside of the cup red to make it pop.
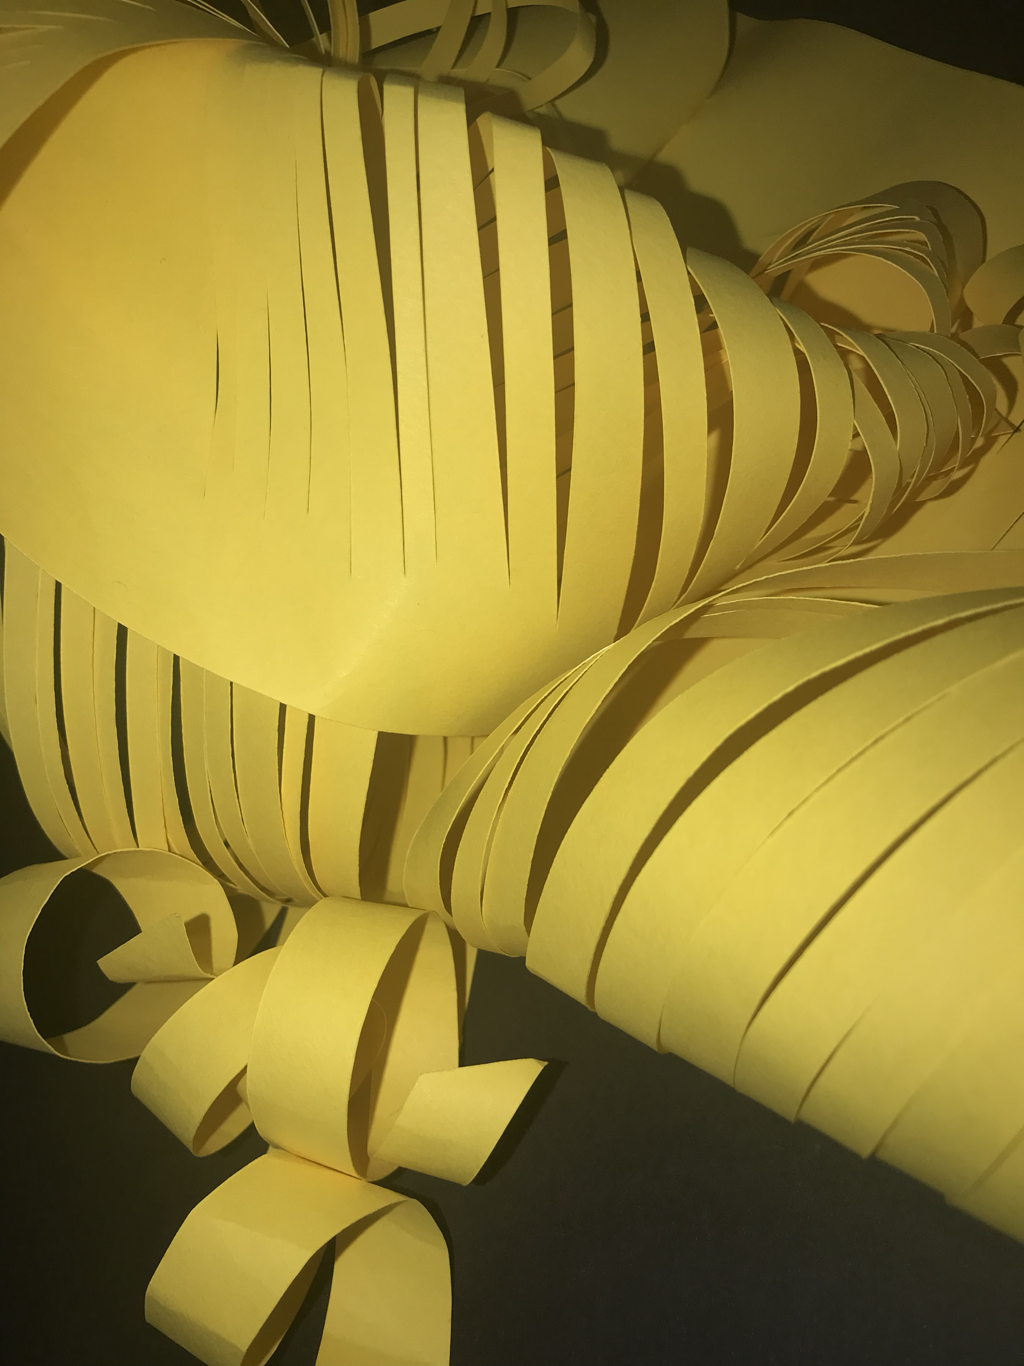
Paper sculpture
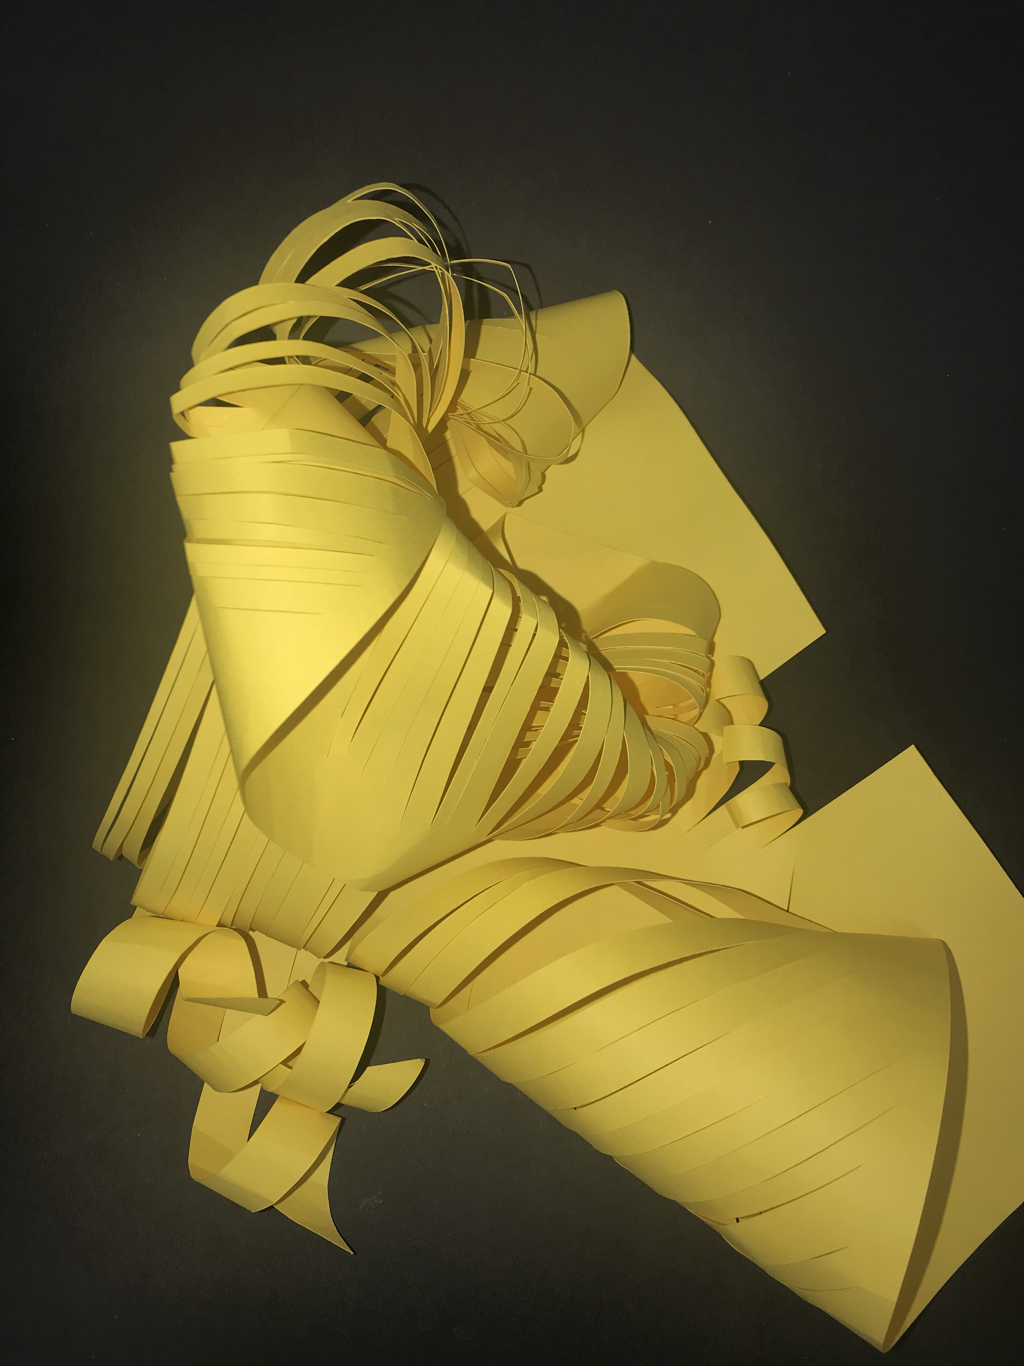
With this project I found it very difficult to find a starting place. Just thinking that I couldn’t cut anything from anything off of the paper had me in complete panic mood. But once i started to cut and glue it was very easy to make this into a very eye pleasing piece.
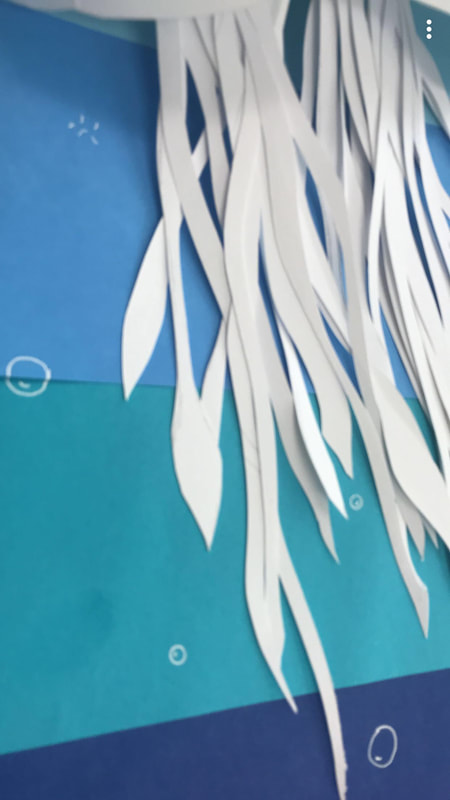
I LITERALLY DIDN’T KNOW WHERE TO STARTTTTTTTT!!!!! I changed my idea at least a thousand times (actually 3 but still). I had to scream at least a thousand times (literally this time) I was over this project. What I found difficult was that I didn’t know where to start AT ALL. But once i got to know what my idea was i continue to work through it with the help of Sudkamp and my mental breakdowns. Adding more detail was easy after I was done.
In progress sgrafito
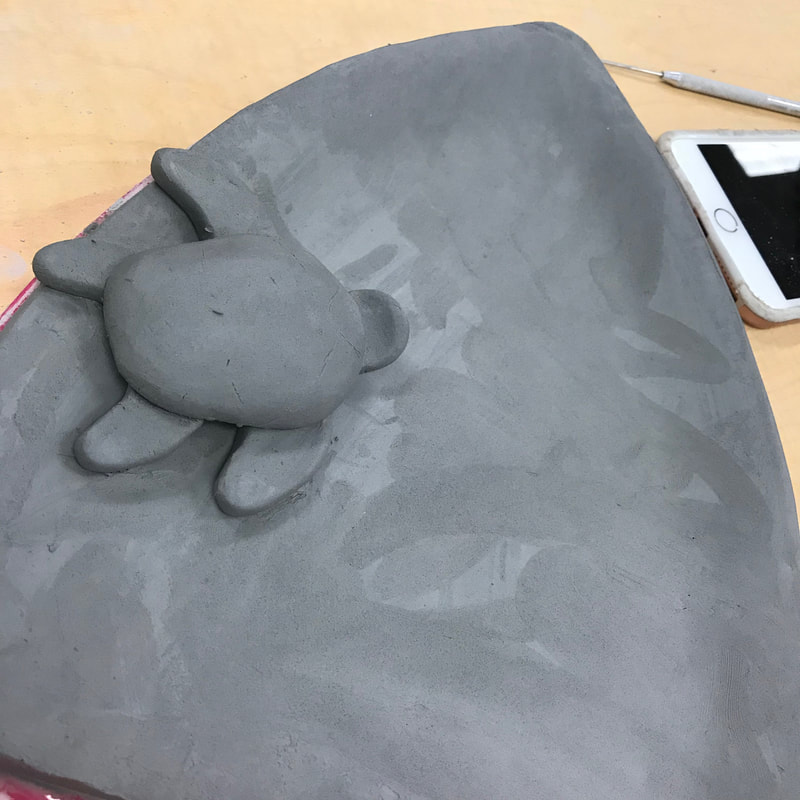
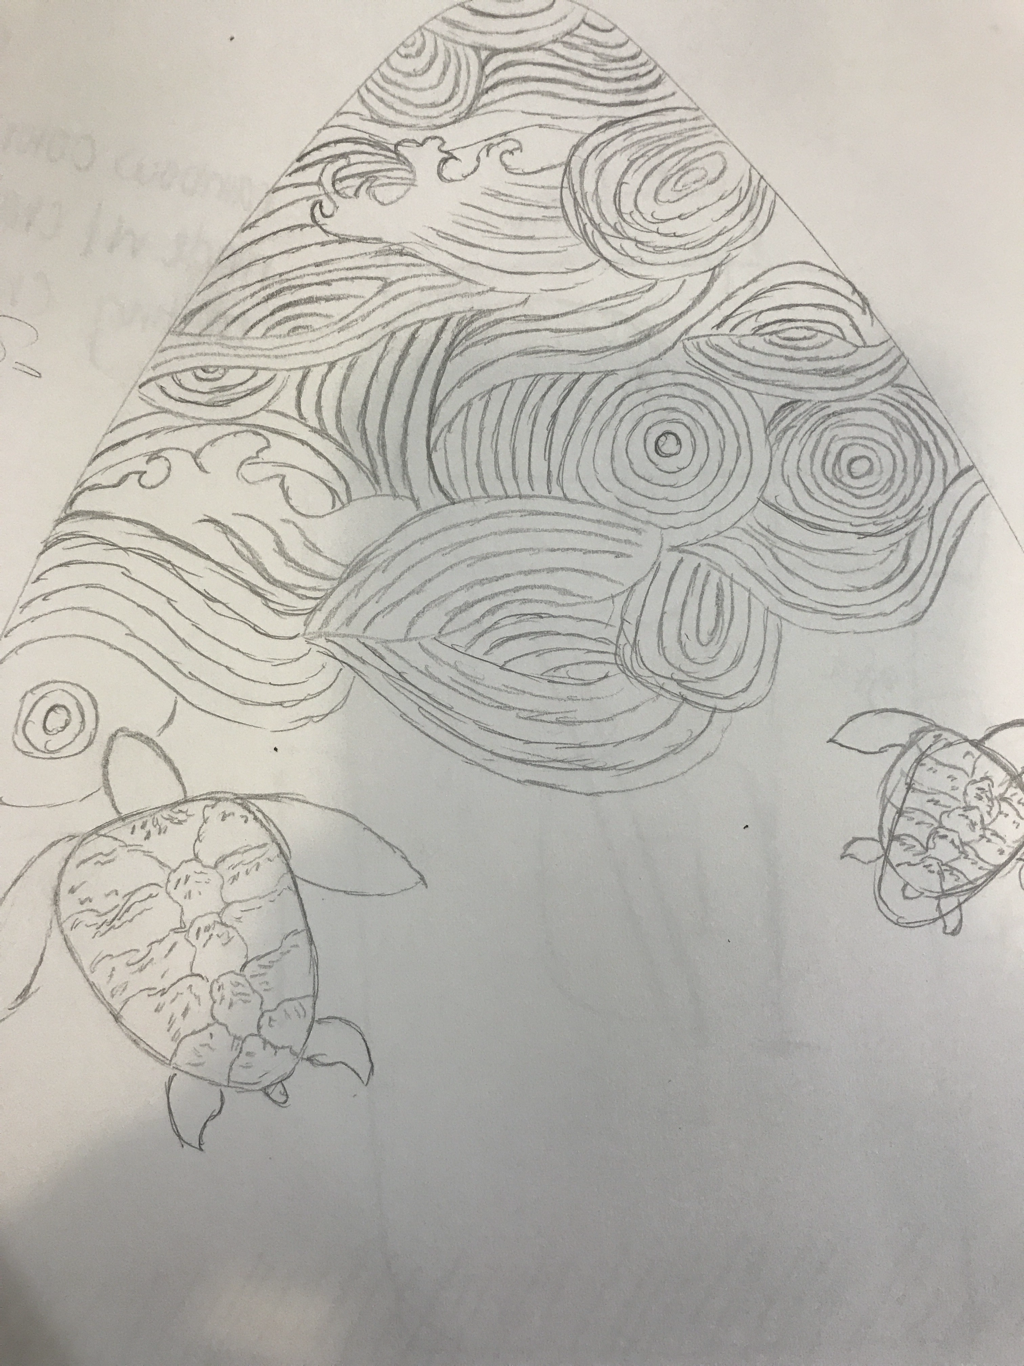
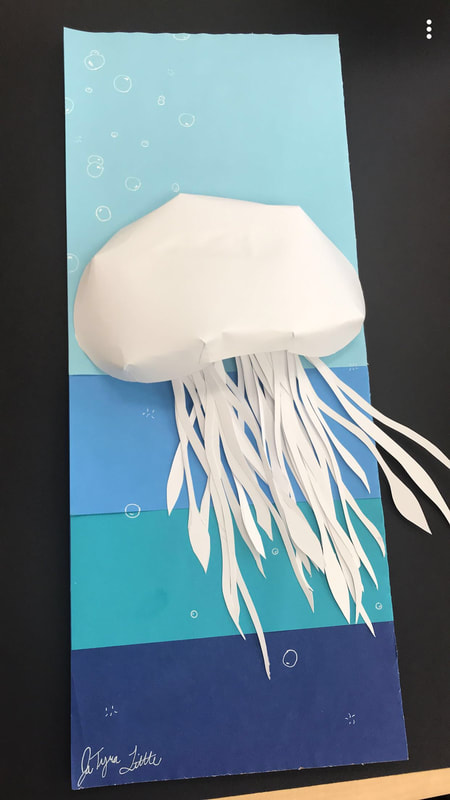
Well I got this idea from our first paper project with my jellyfish. I decided to keep going with a sea type theme. During the intro Sudkamp held up a surfboard shaped tray and I instantly wanted to do waves. I always say GO BIG OR GO HOME soooooooo..... you know i had to go big and put a 3D sea turtle on the surfboard as well. Of course I had to roll out my clay to make it big enough to make take the shape of the tray. I then had to shape the turtle which I was later judged for. Sammie took that part (here’s your credit sammie).
greek pottery
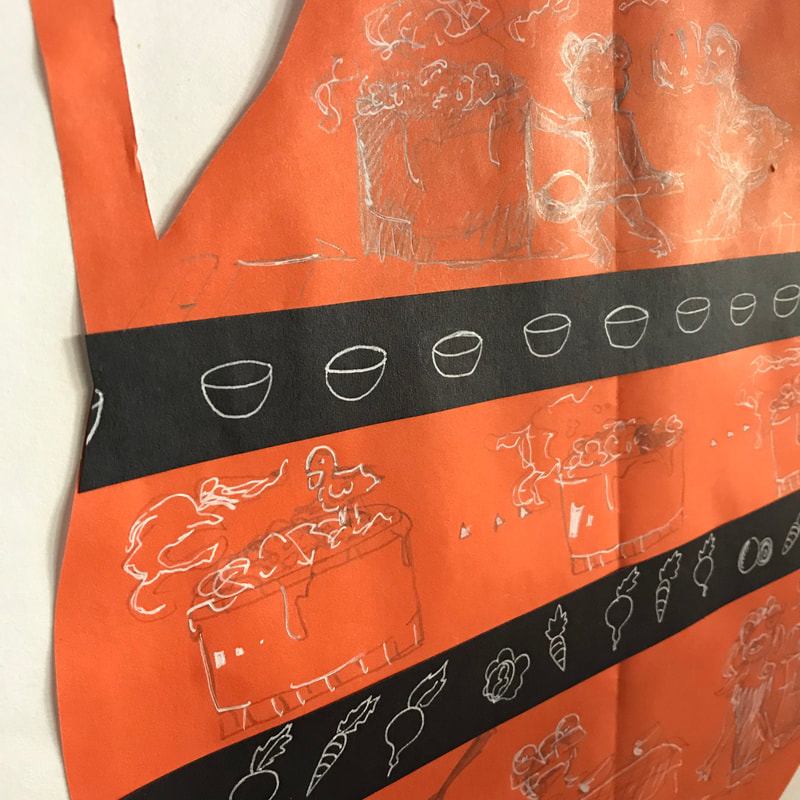

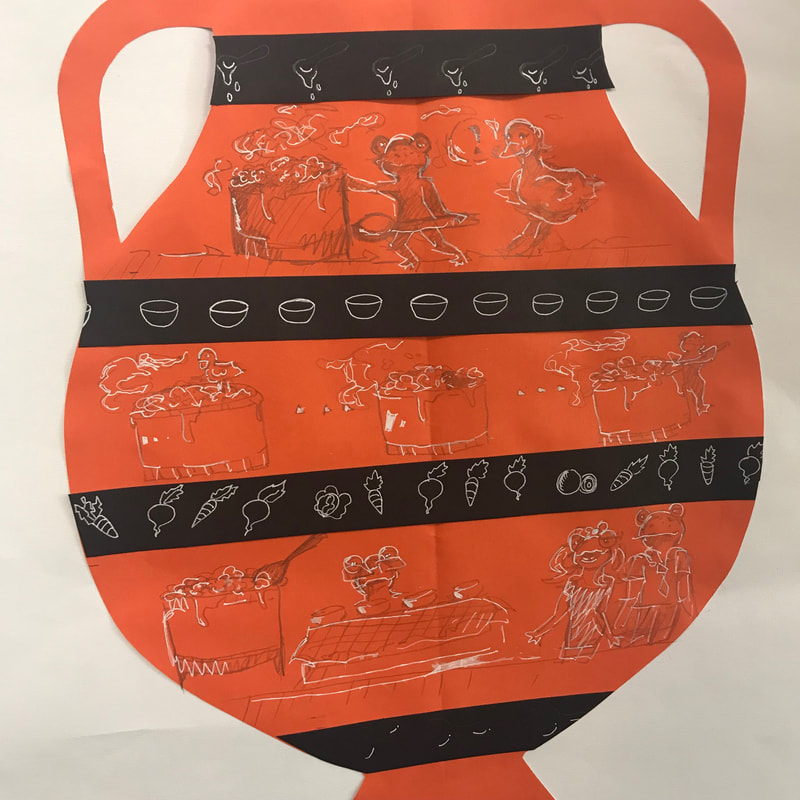
We did the Pelike vase which was used for the storage of liquids such as wine, olive oil, and water. I worked on coming up with an story and the registers.
Sgraffito: a design that is craved into clay usually black and white because of the underglaze painted on first and the craving shows up white
Register: these pieces break up the story but also have an design on them that relate to the story
Sgraffito: a design that is craved into clay usually black and white because of the underglaze painted on first and the craving shows up white
Register: these pieces break up the story but also have an design on them that relate to the story
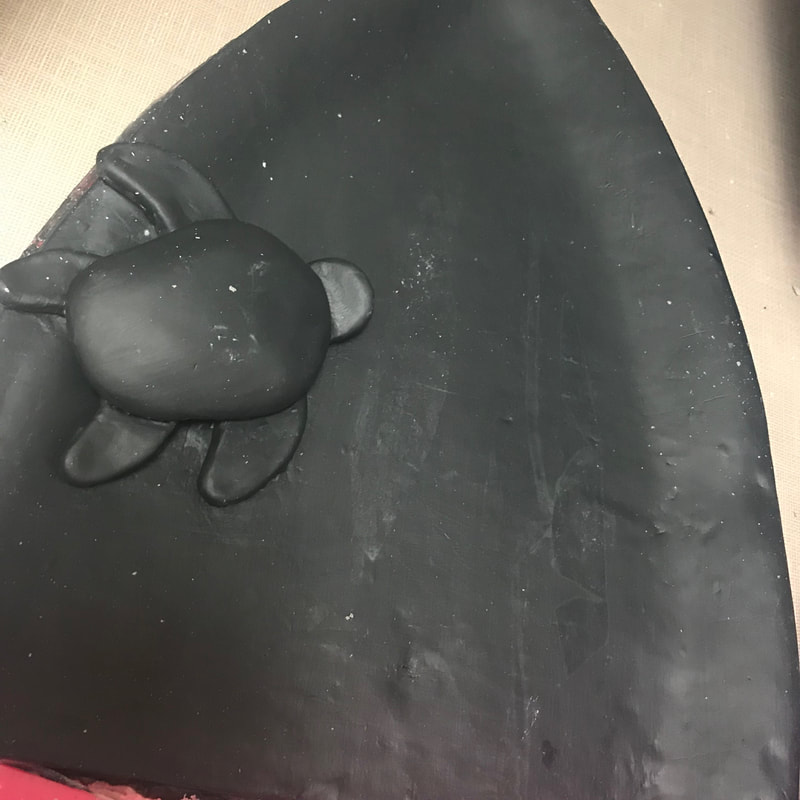
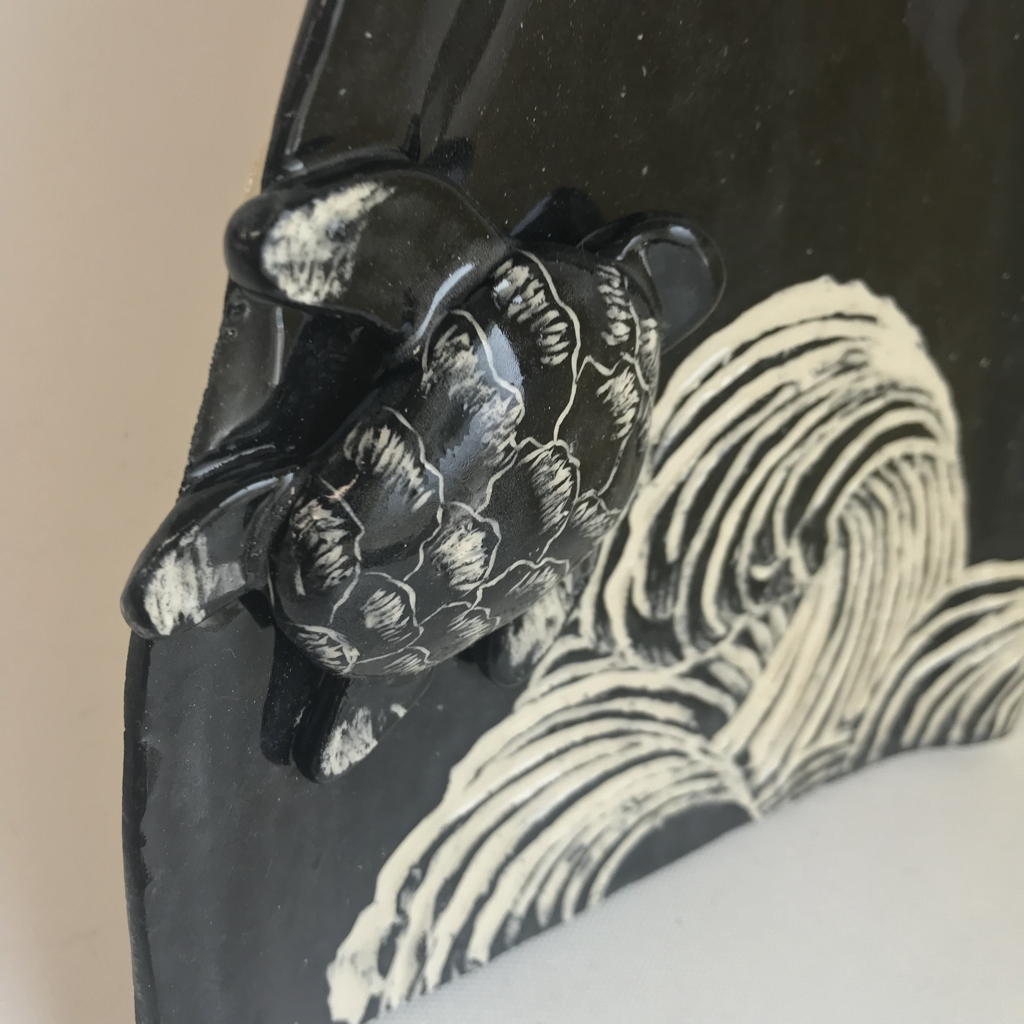
finished sgraffito
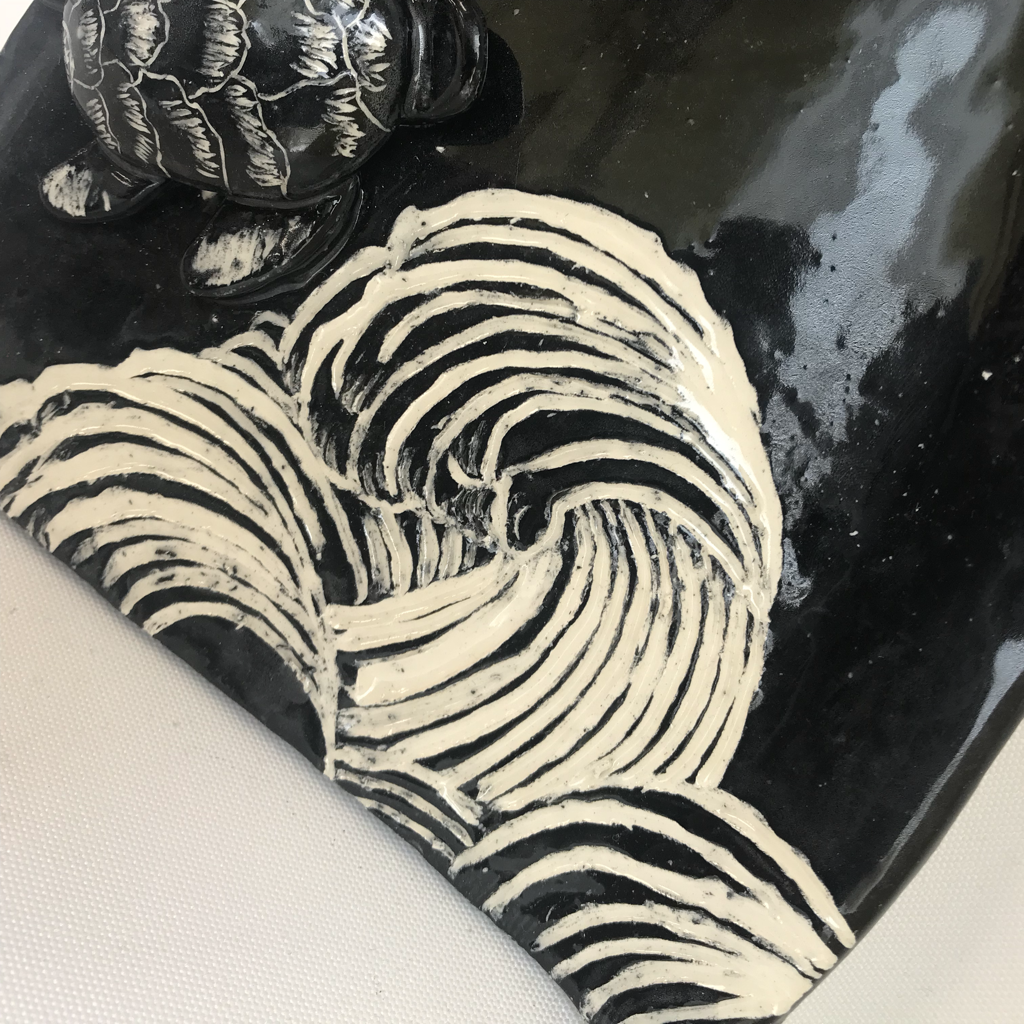
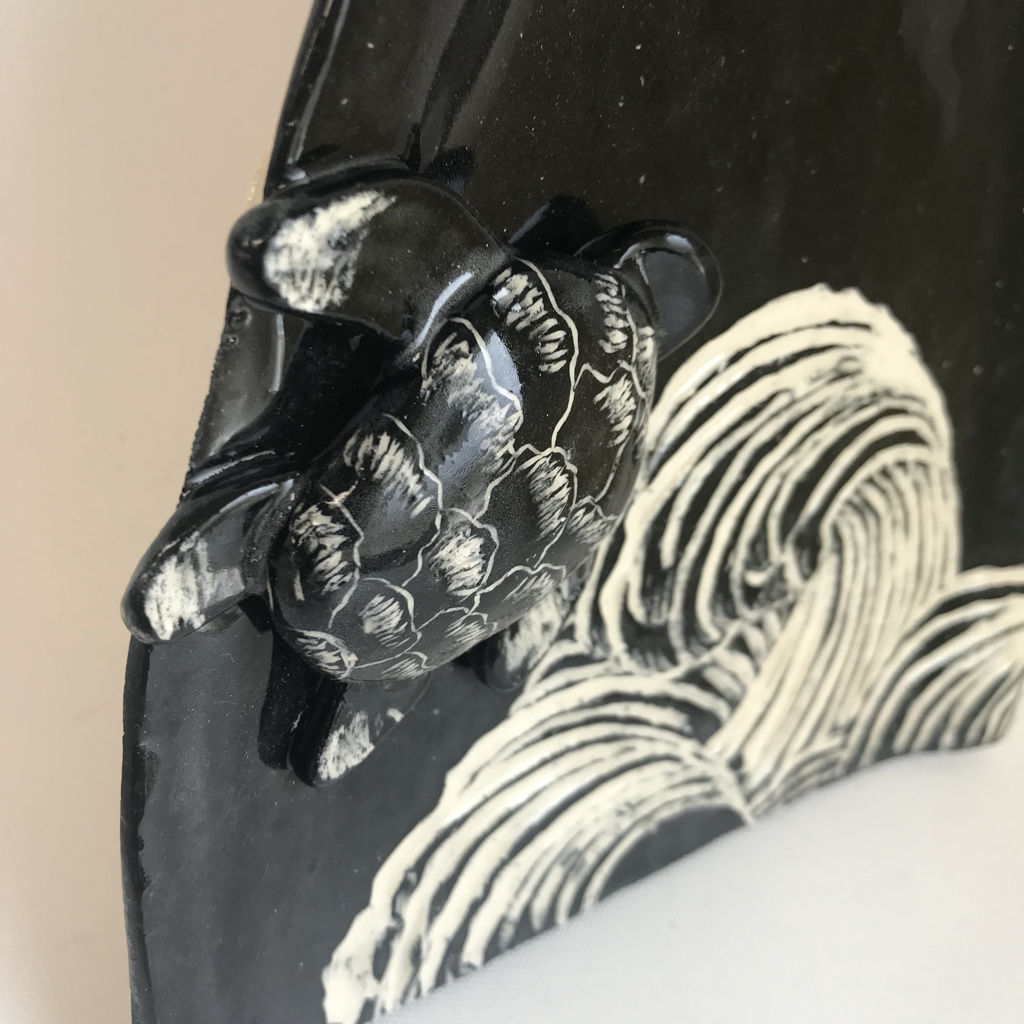
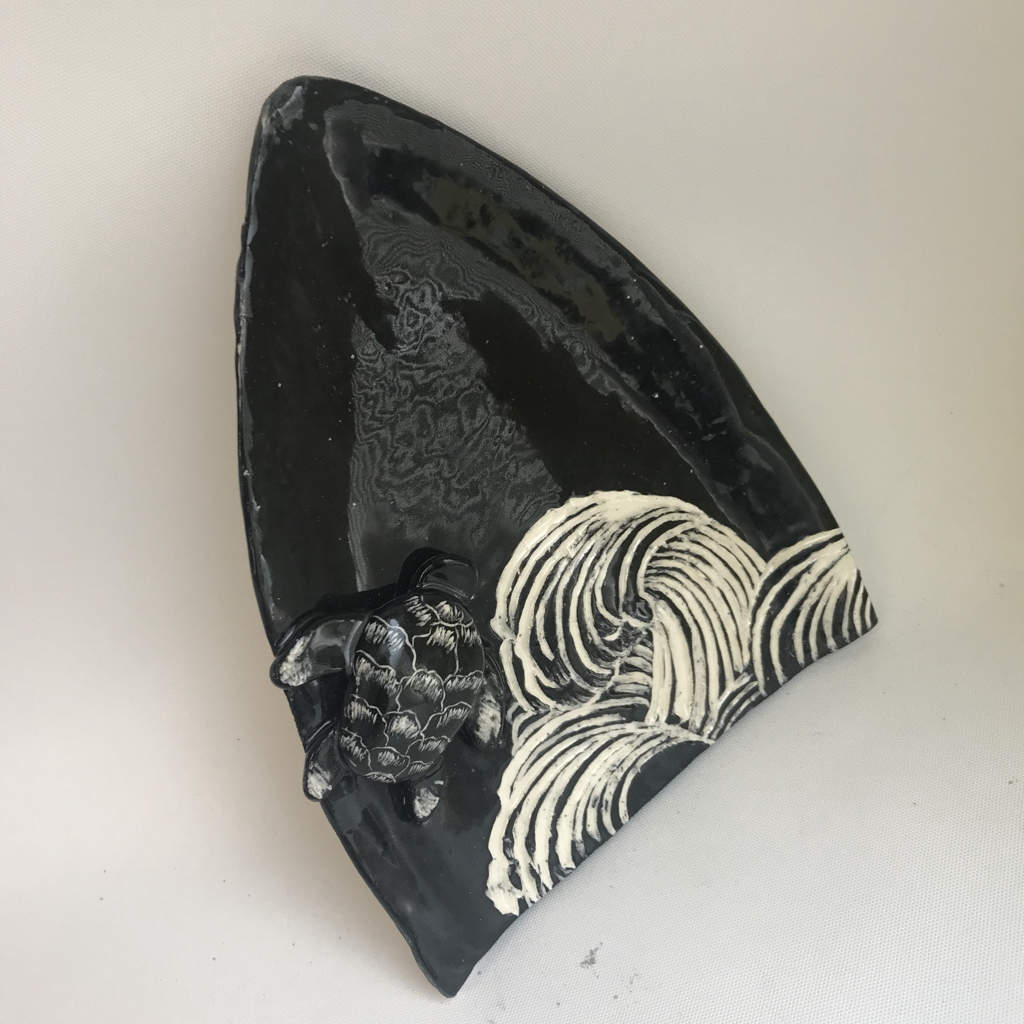
With finishing my piece, i would have to cover my piece completely with black under glaze (multiple layers). After letting it dry, i would begin to crave out everything i wanted to be white and then cover my piece with clear glaze for it to have that finished look. With the process it’s hard to start just cause you don’t know what you wanna do necessarily. But once you get going it’s not too bad. I got the basic look i was going for but i just wish it was a lot cleaner.
pit fire
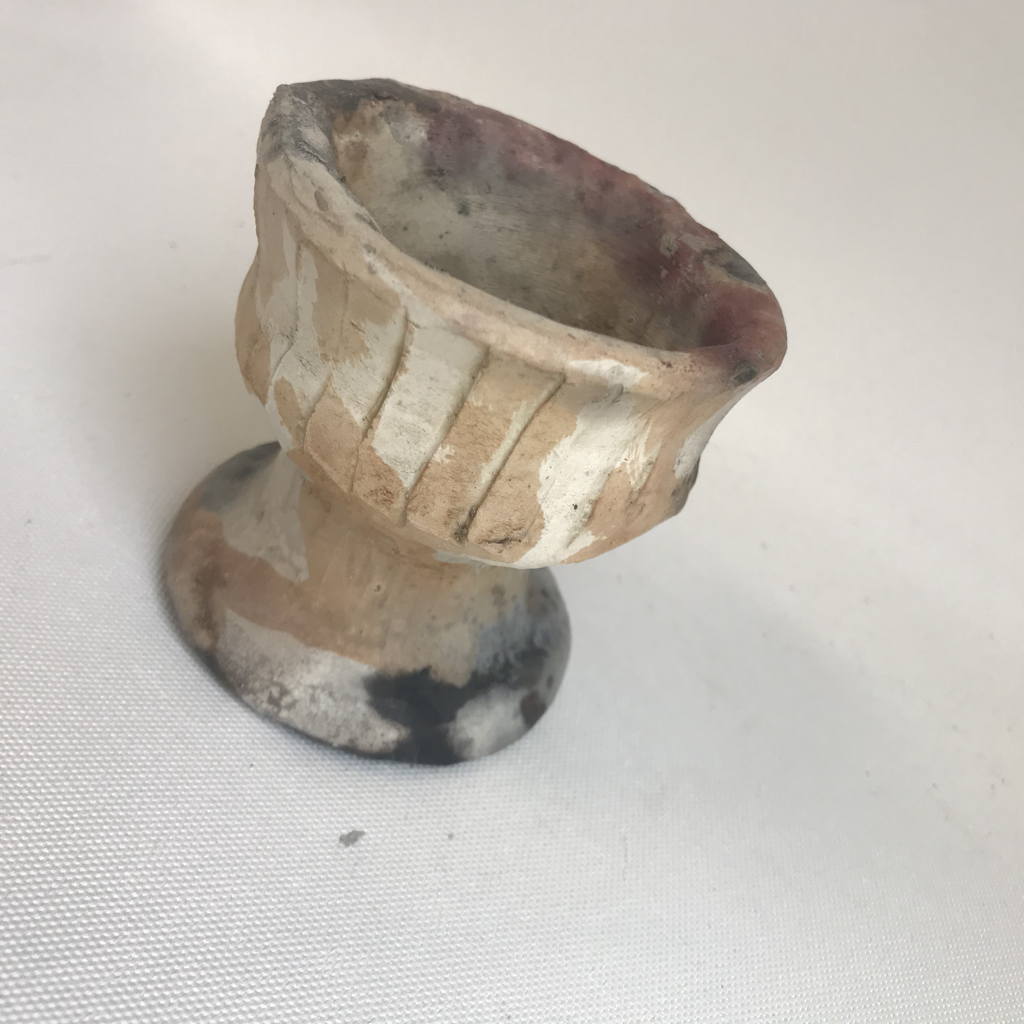
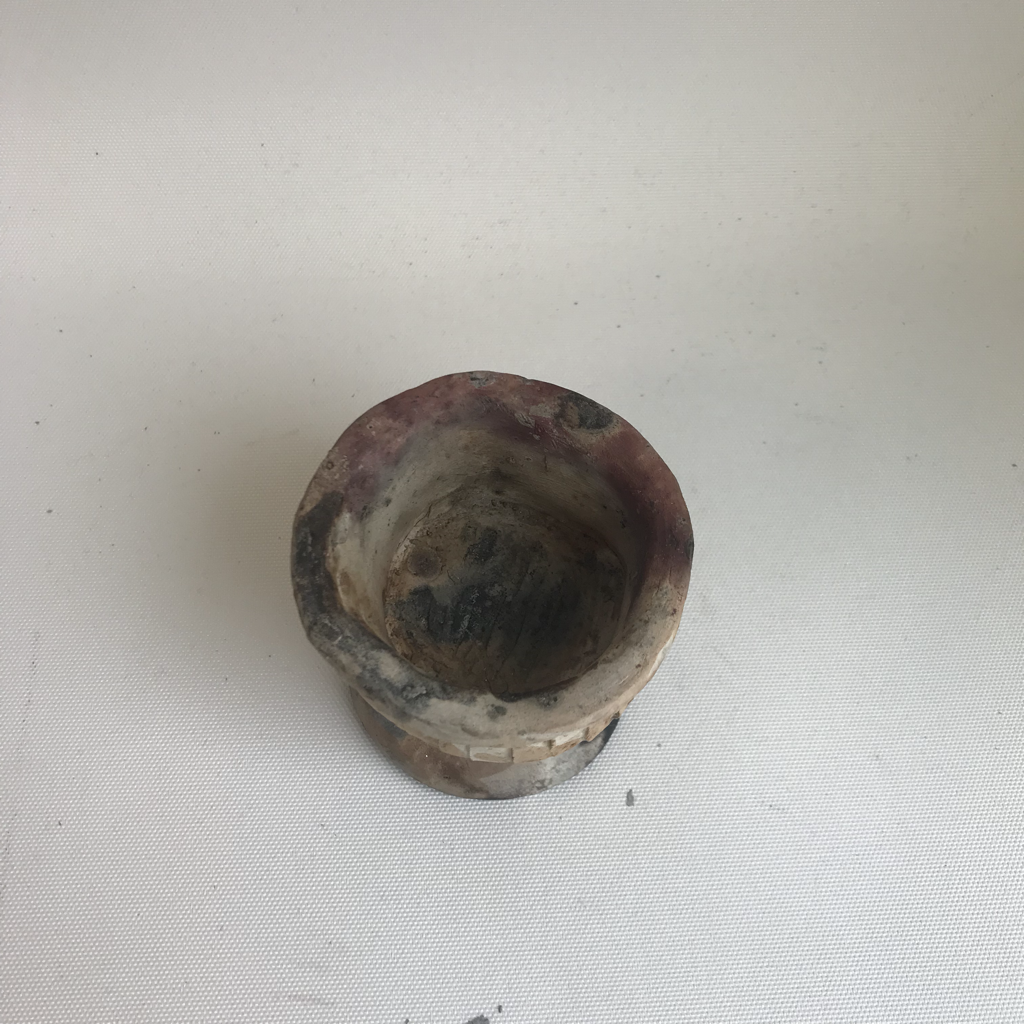
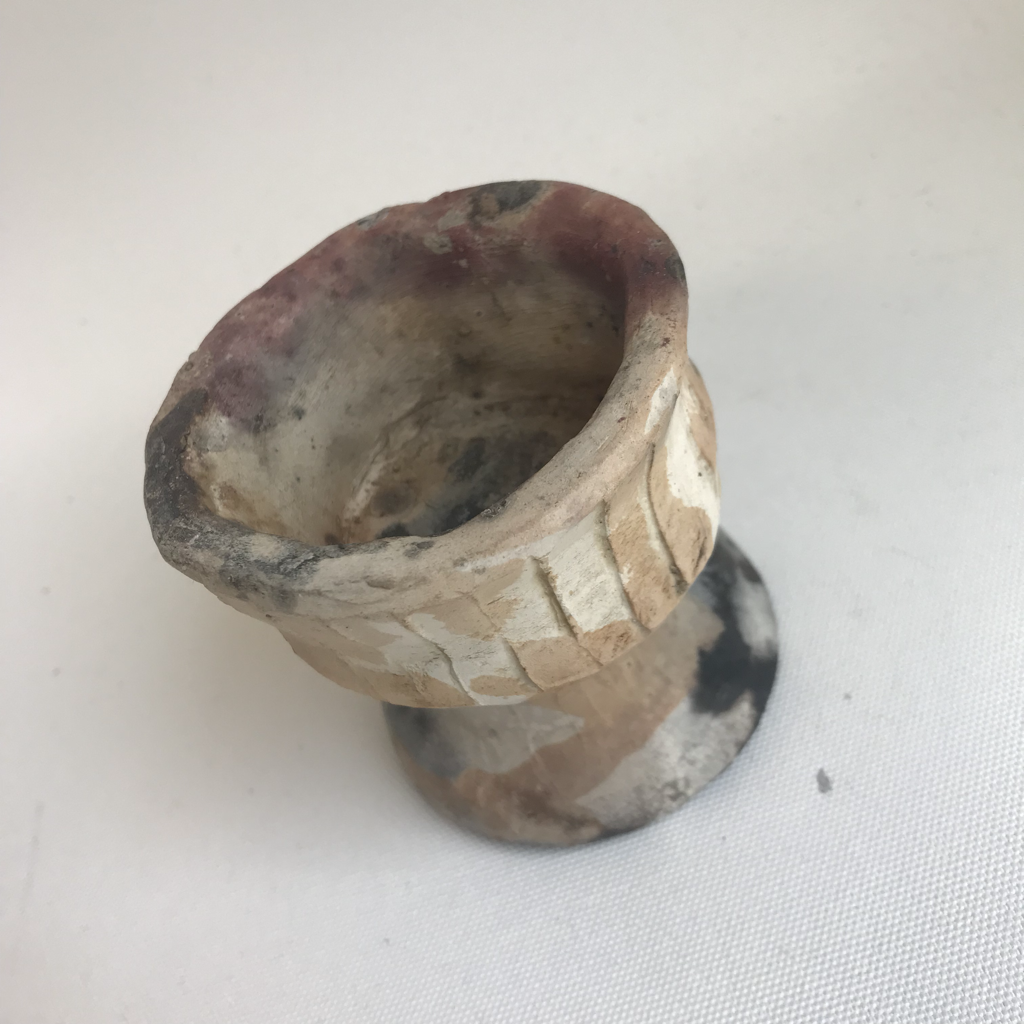
With doing a pit fire, you have to start with building/creating the piece that you want. Then with that you have to bisque fire it before adding you different items. When adding your different items it all depends on the colors you would want to show up with it’s thrown into the fire. For example the acid gives it a yellow/orange color. i wish i would been a different shape to give it a purpose. And maybe focused more on a color scheme.
Tripod Cup
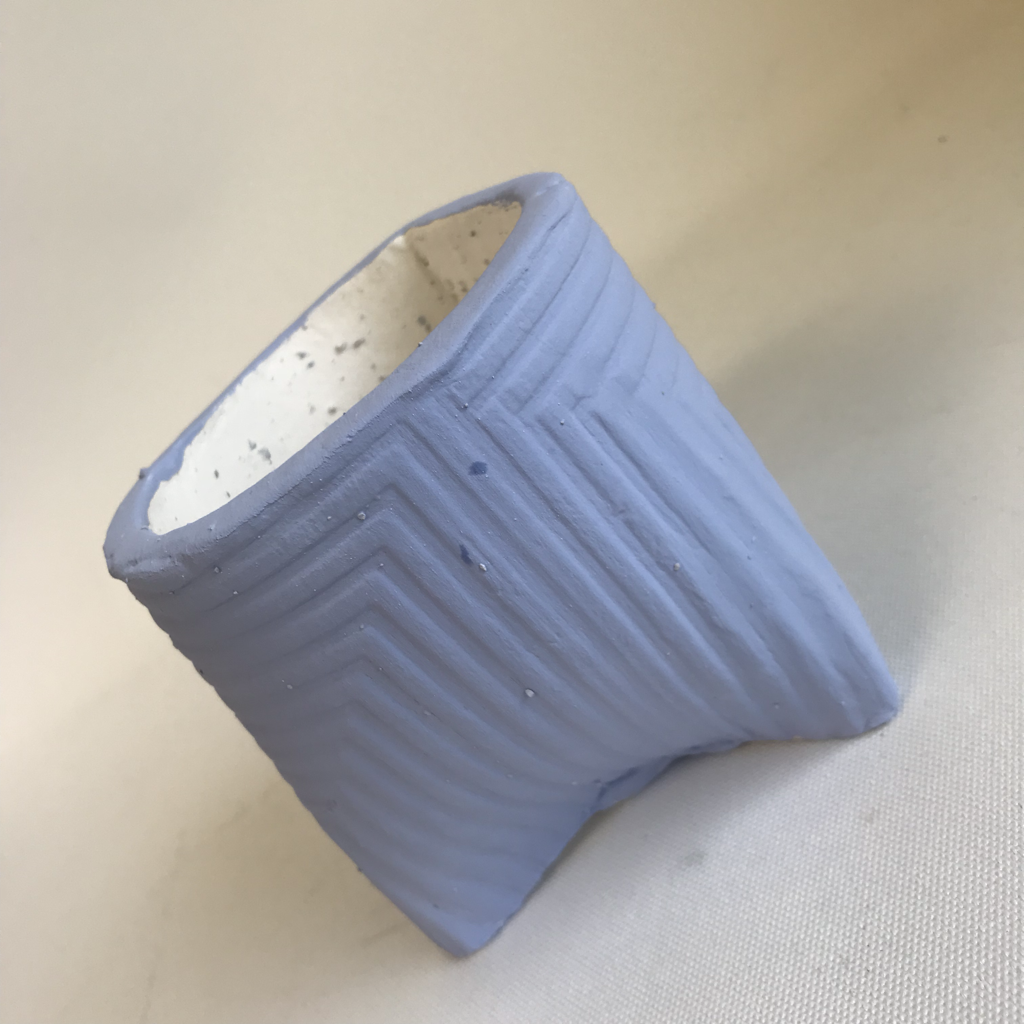
With making tripod cups, first you would need to roll out a slab of clay. After rolling it out you would need make it into a perfect rectangle and put your design on it. When you’re done with that part you will need to roll it on to a pipe for the round shape and cut off extraness. When you’re done with that you will remove it from the pipe and begin to pinch in the bottom to make the form. Keep doing it until you have closed that gaps. DONT FORGET TO SCORE AND SLIP!!!!!
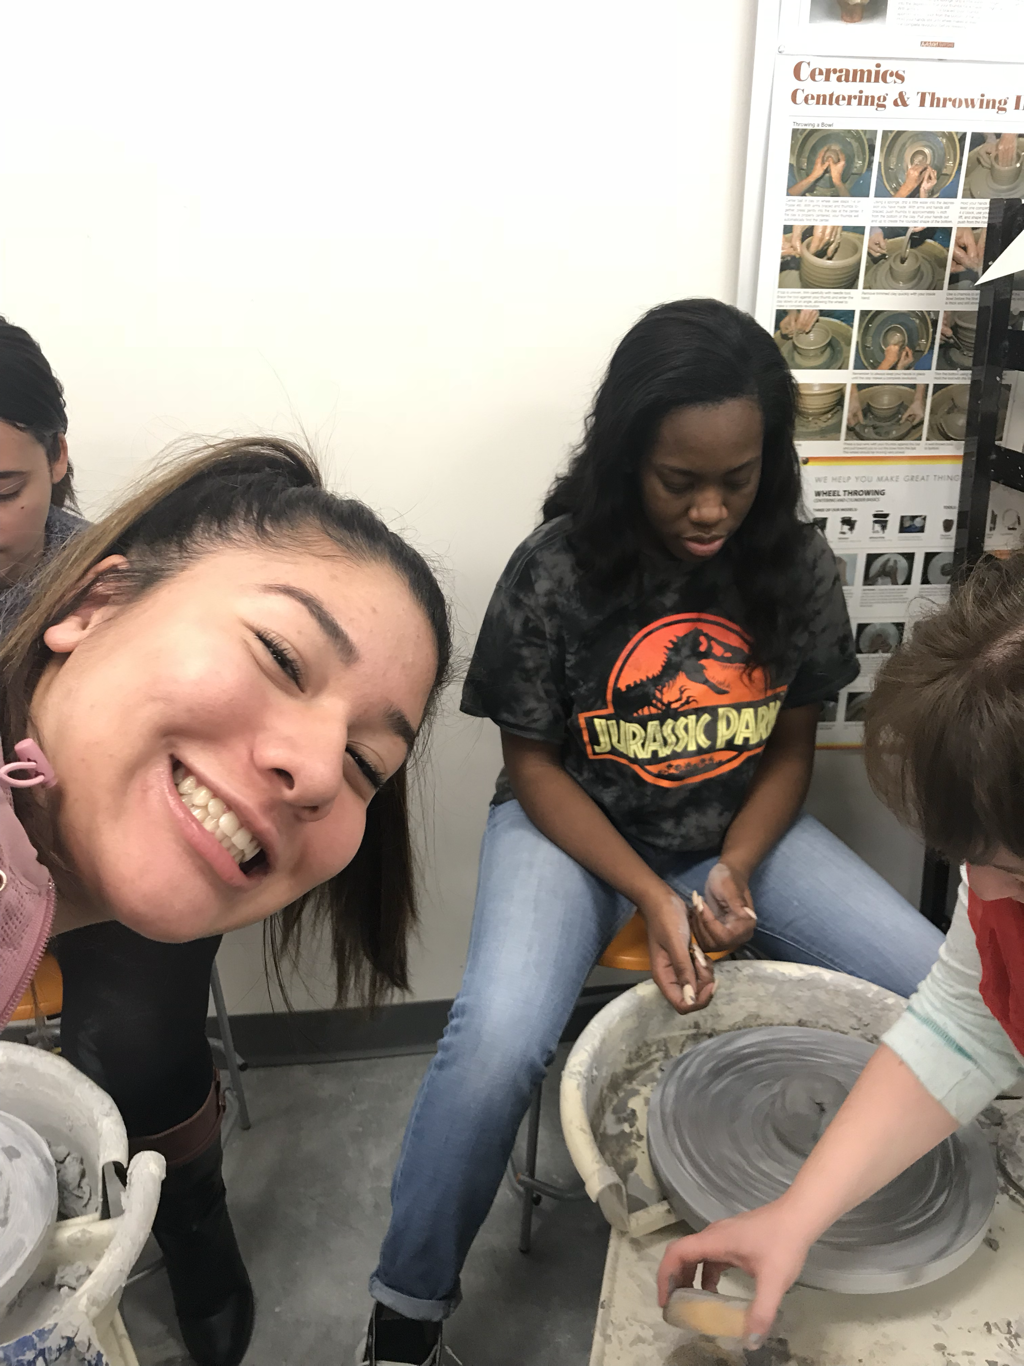
throwing on the wheel
FINAL EXAM :(
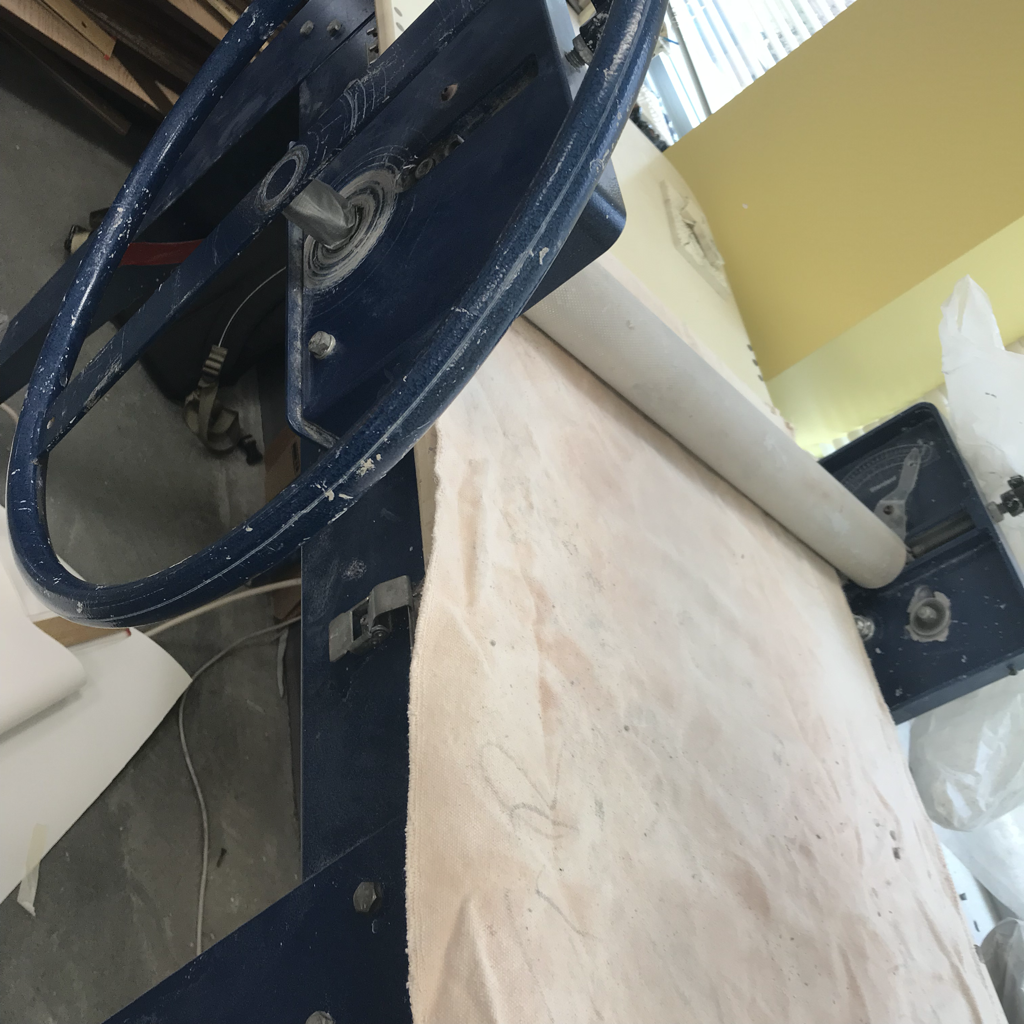
This is the slab roller. You use this to flatten your clay evenly before you begin to create your piece. WIth this tool I have learned that its alot easier smoothing at my clay to work with and its evenly thick. You can control how thin or thick you would like your clay by turning the knobs on the ends of the the roller. After you set it the way you would like it, you put your clay between the sheets and pull it through.
This is the most successful piece I have made this year.

Paper was my favorite material to work with, because it wasn't messy at all. With the paper it was less of a mess to clean up, it wouldn't ruin my clothes, and wouldn't get all of my hands. Don't get me wrong I enjoy working with clay, but it just becomes a hot mess after a while.
